Motorcycle CarPlay Mount
A while back, I got a no-name CarPlay receiver for my motorcycle. It’s been working well. I like being able to see maps, to control the music, and to operate garage doors without getting my phone out of my pocket.
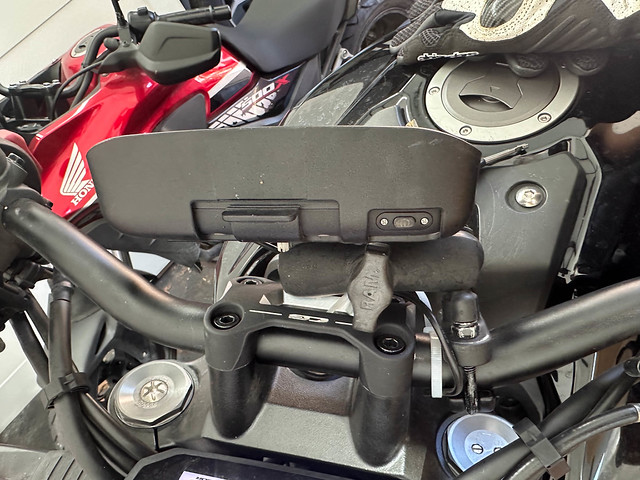
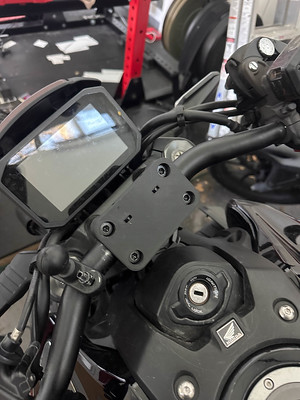
It has been mounted on my handlebars with a RAM mount. I really like RAM mounts, and have used them for many things on many motorcycles over the years. However, I don’t need to reposition this device, so the flexibility of the ball-and-socket arm system is wasted. The mount is also a bit bulky, which is awkward because the place I want it is basically right over my handlebar clamp.
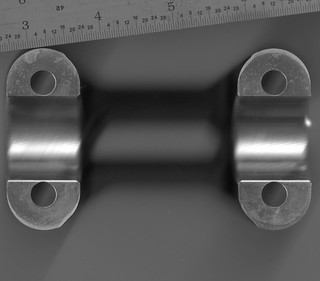
So let’s machine a new mount! The first step was taking off the original and measuring it. The only critical measurements are the placements of the bolts that hold the clamp on, so I used a flatbed scanner and a ruler to digitize it and took measurements off of that.
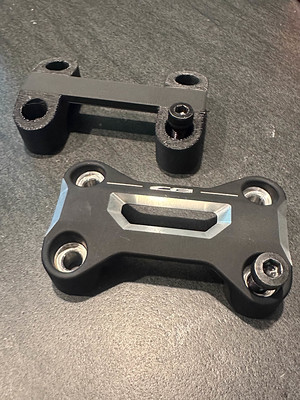
Next, I modeled up a minimal version and 3D Printed it. It fit reasonably well, so it was time to design a real one.
The back of the unit is frustratingly not flat, which you may remember from the mount for the other bike.
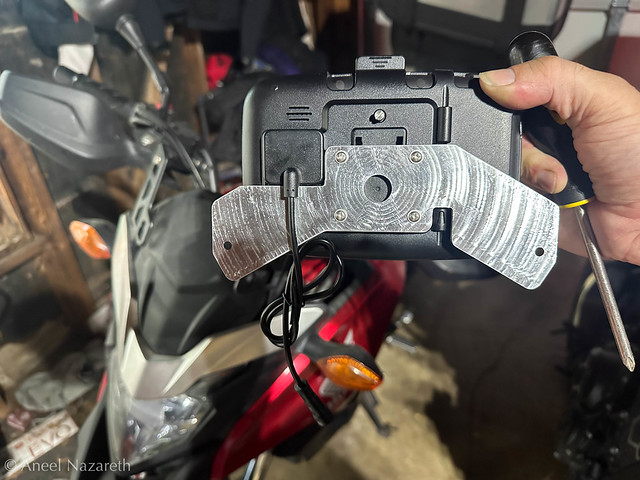
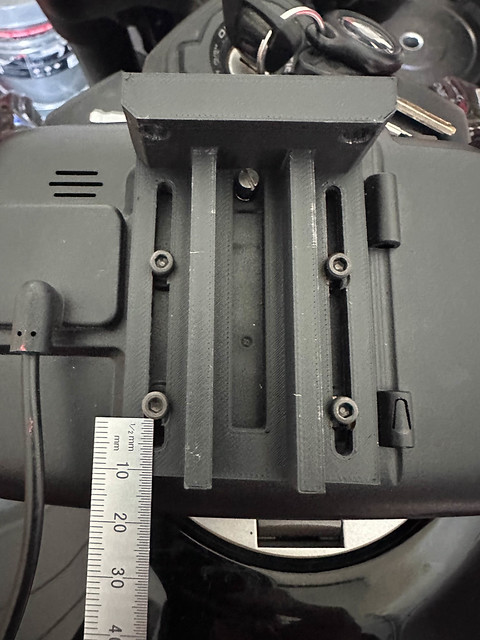
That meant I’d need a platform with some standoff. I realized that I’d want to be able to adjust the position of the GPS on the mount, so I designed in some slots. By tightening the screws that connect the GPS side, it would be locked into place against the handlebar side.

I 3D printed this to test, and quickly discovered the flaw… it is impossible to tighten the screws on one part after you’ve attached the other to it. Oops.
After some thought, I came up with a plan: the platform would screw onto the clamp from the front. This would require a third setup on the mill, but that’s not too painful. I printed a version of this using captured nuts and it worked fine.
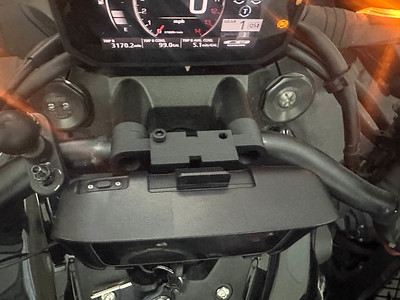
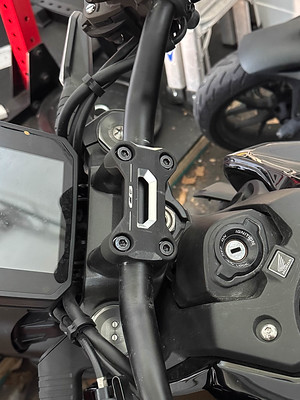
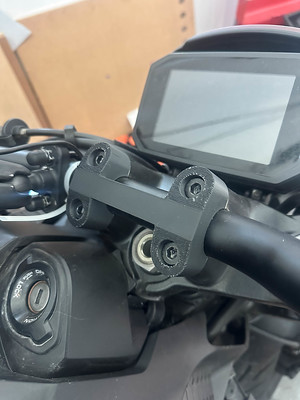
Finally, something worth machining! I did this on a Haas Super Mini mill at ACC. This went pretty smoothly. I used a new-to-me toolpath (“Flow”) to run a ball-nosed endmill along the curve that grabs the handlebar. It seems to have plenty of grip. I manually tapped the bolt holes in the front.
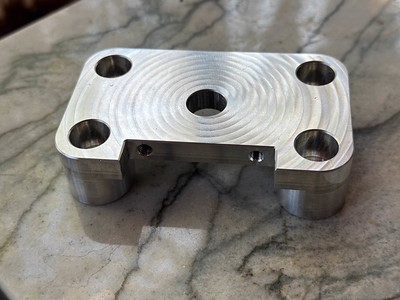

I did leave the slots in the first version of the platform, so that I could find the optimal placement of the GPS front-to-back. Too far forward and it would make it hard to see the speedometer. Too far backward and it hits the keys.
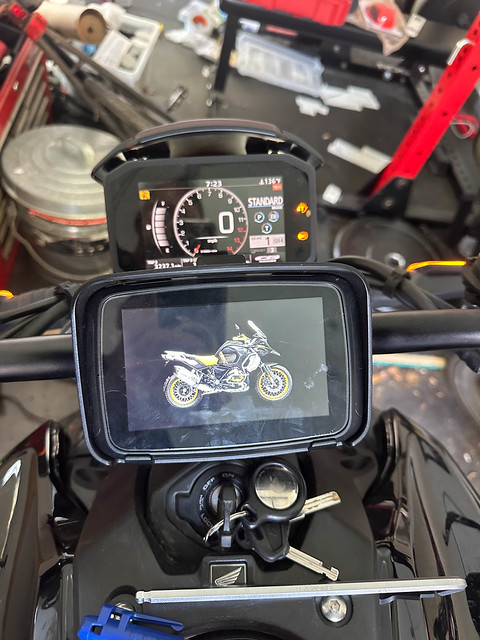
I’ve been riding around with it for a few weeks and my handlebars haven’t fallen off, so… success!