Tools
Power Hammer class has moved onto the toolmaking part of the curriculum. We’re practicing making tools in mild steel and then moving on to tool steel versions.
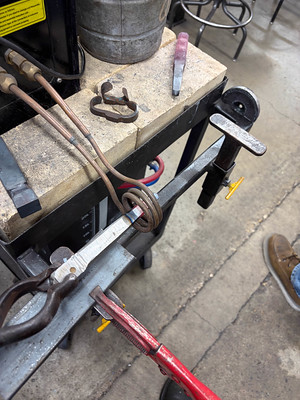
Hot Tools
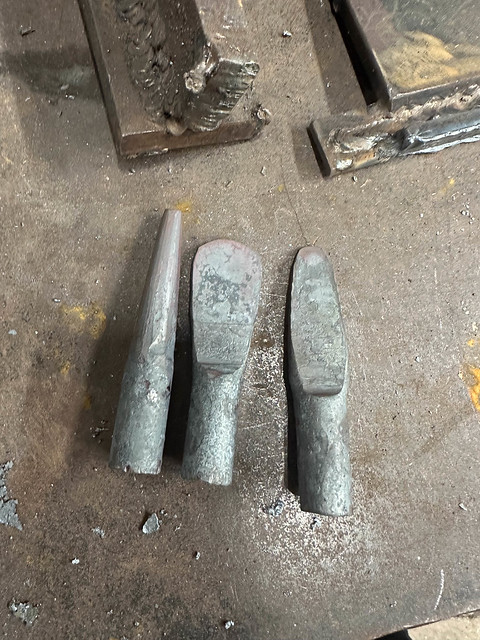
We’ve used 4140 steel to make tools for hammering into and through hot metal. The process starts with forging the tool to shape, trying to do it in as few heats (trips to the furnace) as possible, to keep the number of heat cycles the tool steel goes through to a minimum.
Because 4140 is fairly hard, we “air quench” these by just letting them cool off. Then we refine the working features by grinding.
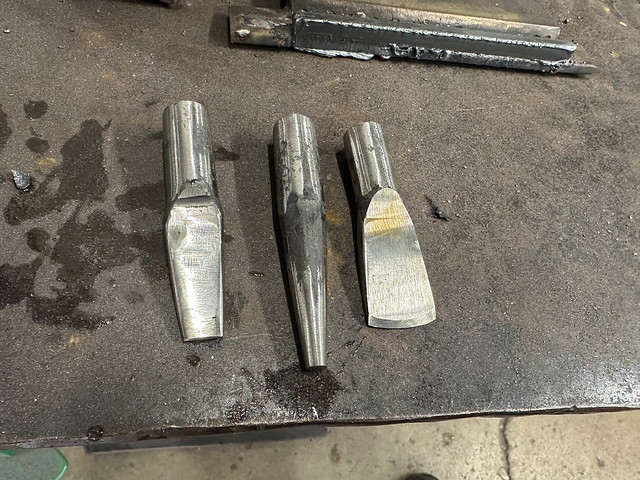
Finally the struck end of the tool is rounded off on the grinder so that it doesn’t chip when you hit it with a hammer.
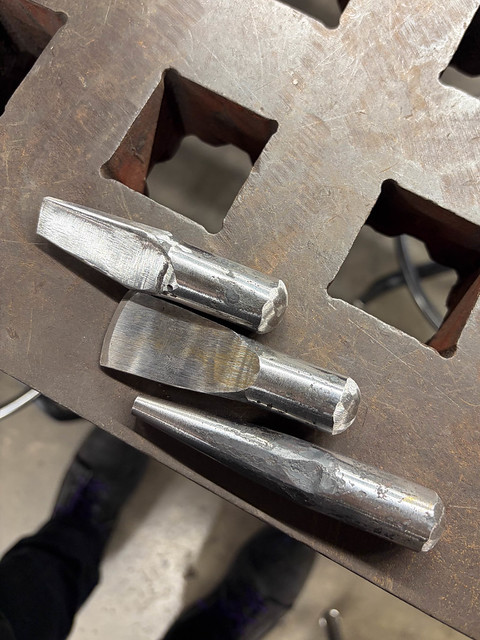
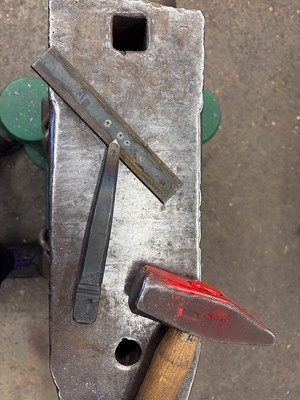
These are a Hot Cut (for cutting a piece of hot metal by hammering a wedge through it), a Round Punch (for punching a round hole through a piece of hot metal by hammering a circle through it) and a Slot Punch (for punching a slot through a piece of hot metal by hammering a bar through it). We don’t heat treat these tools because they’re going to be subjected to high heat and their temper would be quickly ruined. Instead, we assume they’ll deform over time, and we’ll reshape them.
Cold Tools
Next we moved to W1 tool steel to make tools for marking cold metal. Again, we’re forging the tool into shape in as few heats as possible. Then we bring the tool back up to forging temperature and stick it in an insulator for a while to anneal it. There are tubs of vermiculite in the shop, and we bury our pieces in them until they fully cool.
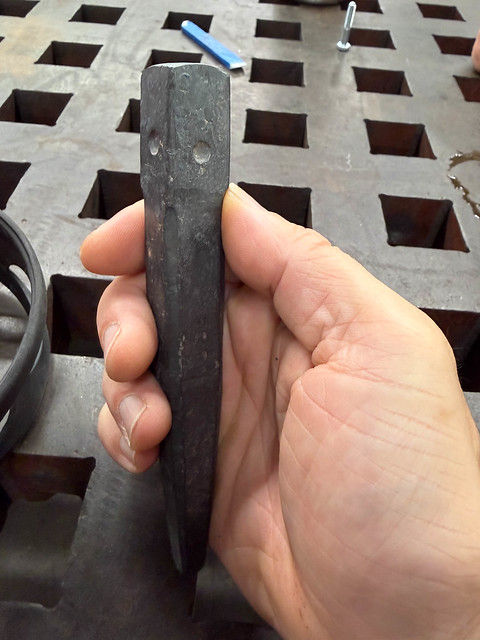
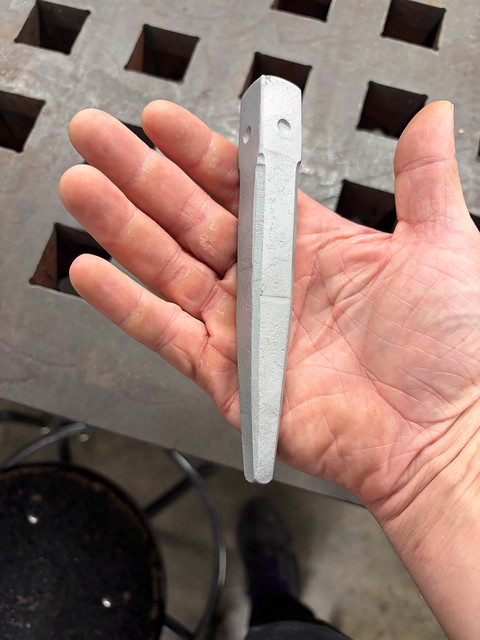
This metal is in a very soft and workable state, so it’s a good time to clean it up by sandblasting, grinding, and filing.
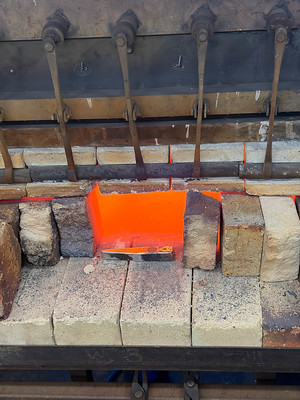
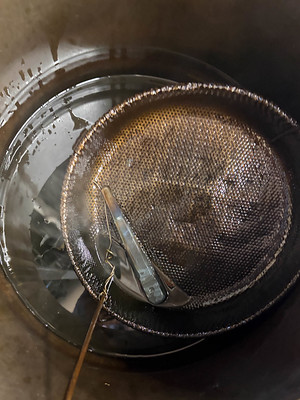
Next it’s time for heat treating. We get the working end of the tool (which we want to be very hard) up to the temperature where it stops being magnetic, and keep it there for a few minutes. We learned two ways to do this: using the induction forge we can heat just the working end of the tool. Using the gas forge, we need to heat the whole thing on the “porch” of the forge.
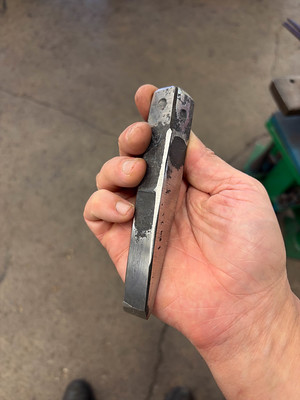
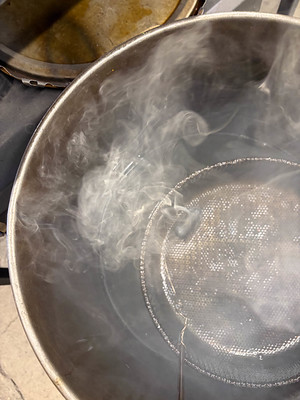
Then we quench the tool. The W in W1 means that this alloy can be water quenched, so we dunk it in a bucket of water until it’s cool enough that it gets wet. This leaves a very hard but also brittle metal. We temper it to make it somewhat softer and much tougher. This is done by heating the struck end to red and then letting that heat seep through the tool until the appropriate temperature is reached at the working end. You can judge this by the color of the oxides that show on the surface.
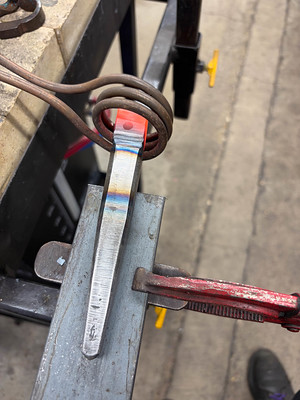
We’re aiming for a straw-to-gold color for these. We then quench the parts again in water to stop the tempering process, and toss them in an oil bath to cool down.
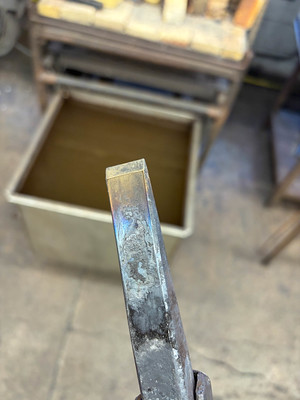
Finally, we grind in the final shape and test the tools.
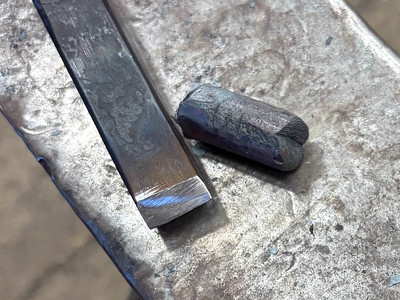
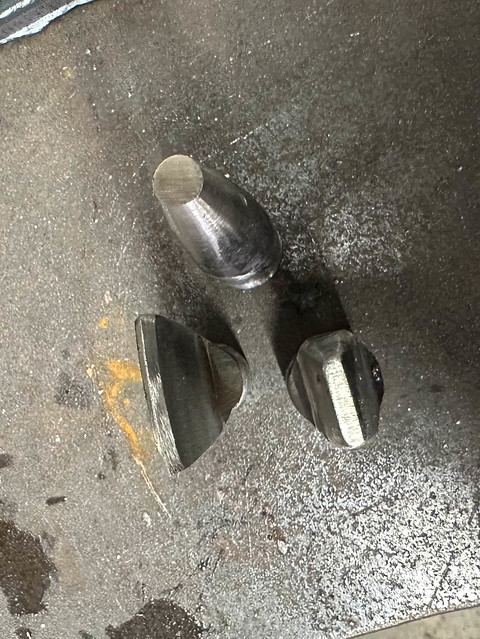
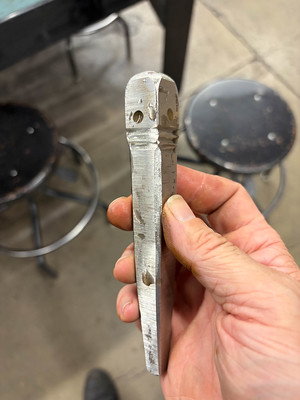
These are a Center Punch, used to mark metal with a point, and a Cold Chisel to mark lines.
Bonus: Touchmark
You may have noticed that my cold tools have circular marks near the struck ends. This is to identify them. This is essential when everyone is making the same tools and throwing them into the vermiculite at once. It would be cooler if I had something more distinctive…
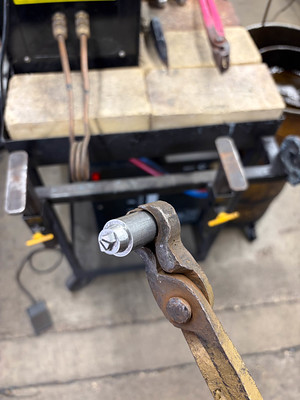
I bought some 4140 at a near-ish metal shop (the one that’s actually nearby wanted to sell me 12’ when I only wanted 12”), and took it to Asmbly to do some work on the Tormach.
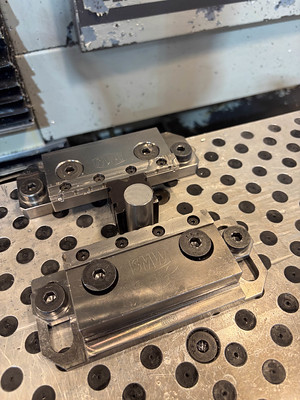
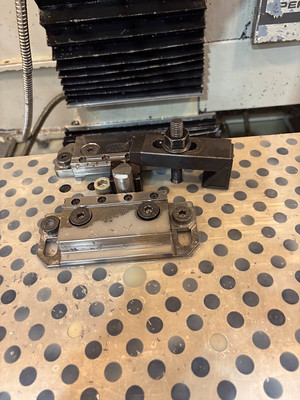
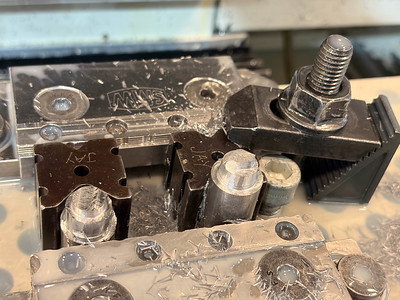
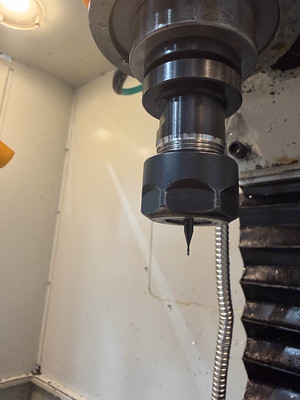
It took me a bunch of tries to figure out how to properly hold the piece so I could machine it, and I had to use a tiny end mill (1/32”) to carve the details. They sell these end mills in packs of 5, so that when you break one basically on first contact with the work, and break a second just loading it into the tool holder, you still have a chance of finishing your part.


Unlike the hot tools, which were also made of 4140, I want this to be quite hard so it leaves a good mark. Because 4140 is an oil quenched alloy the process is: heat until non-magnetic, quench in the oil barrel, then temper.

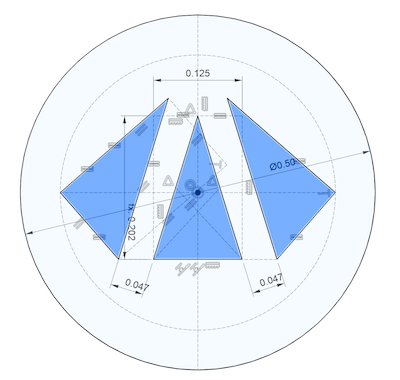
It works pretty well! If only I’d finished it in time to mark my center punch and cold chisel…
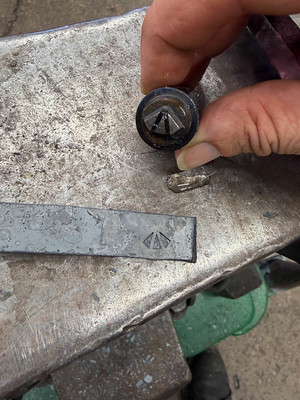
Why yes, that is a stylization of my name! You’ve got a good eye.