Hammers
When we left off, I’d made a bunch of tools. The last part of the class focused on two specific kinds of tools: hammers and tongs.
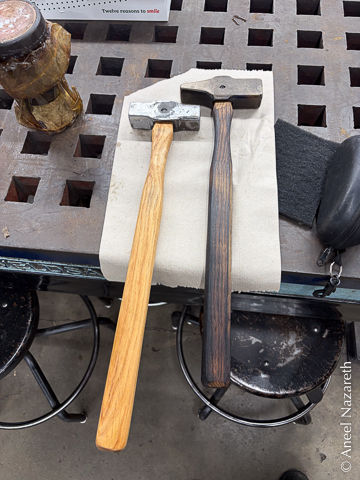
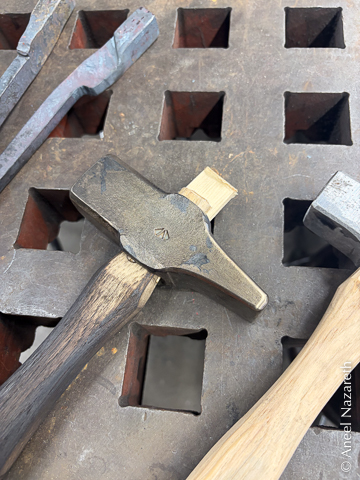
I ended up making two hammers, a practice mild steel hammer, and a tool steel forging hammer.
As usual, more photos and larger versions are available on Flickr.
A mild steel hammer is not terribly useful as a hammer, since many of the things you’d want to hit with a hammer are harder than the hammer head, and thus will leave dents in it. But it was good to work through the sequence of steps before trying to do it in tool steel.
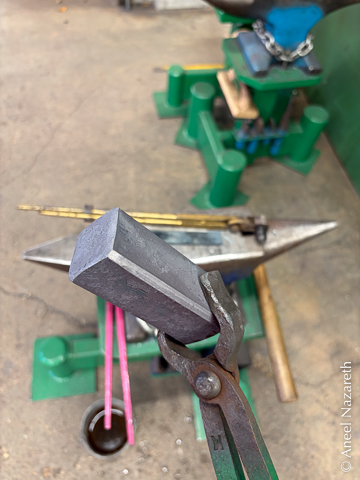
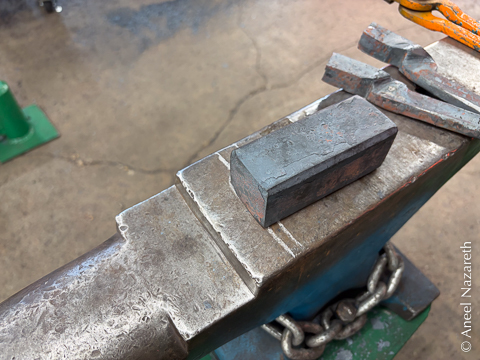
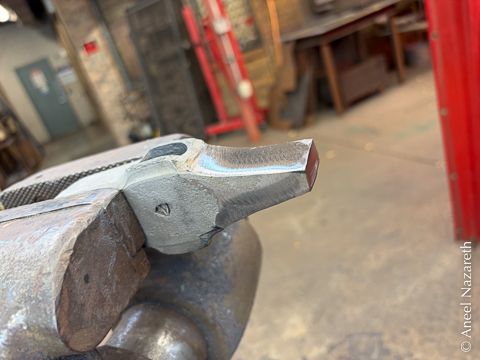
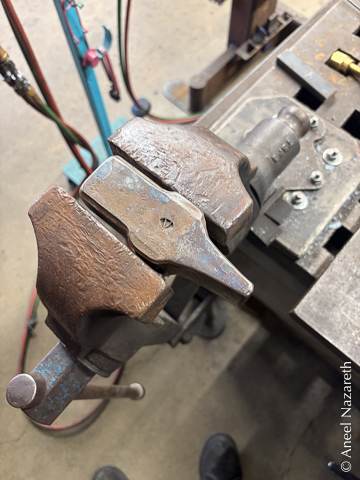
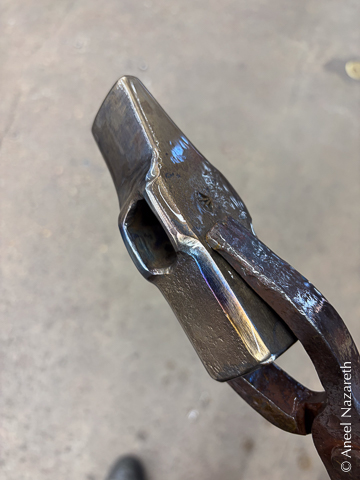
I started with round bar (because it was what we had) and made it into a block with broken (chamfered) edges. I punched a hole in it on the power hammer, then used a drift to open the hole into a proper “eye”. Then the shoulders around the eye are drawn out a bit and the faces of the hammer are refined.
For the mild steel hammer, I just made two square faces, but for the tool steel hammer, I made a cross peen (for more directional hammer blows). Sadly, I did a pretty bad job of keeping the cross peen from twisting as I drew it down. My instructor said “Oh Lordy!” when he saw it.
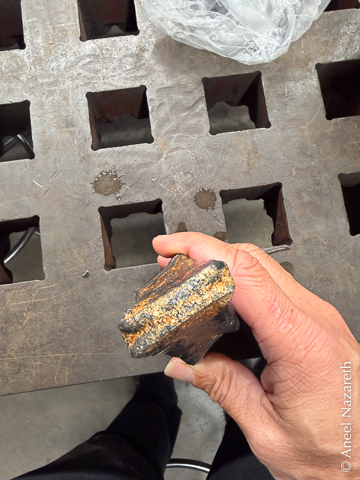
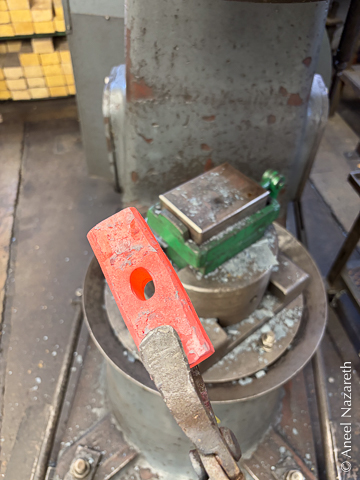
The tool steel hammer also went through a heat treatment cycle. First it was annealed (no relation): heated to a red heat and then allowed to cool slowly by being stuck in a barrel full of insulating vermiculite. This allows the metal to relax and remove some of the stresses of forging. While it’s in the annealed state the metal can be sawed, ground and filed easily, so I took the opportunity to straighten the cross peen.
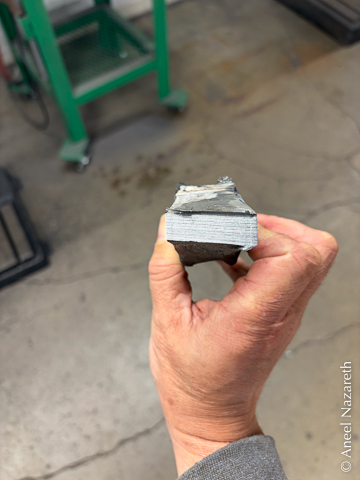
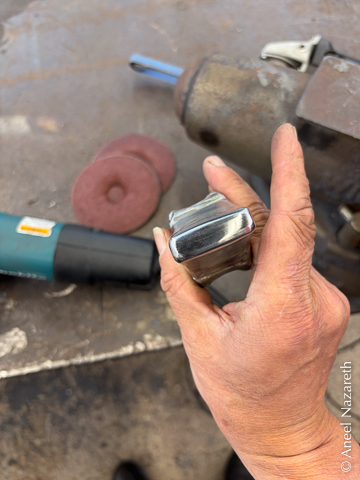
The final step before heat treating was to bring the faces to a high polish so that they don’t leave marks on the surfaces they hit.
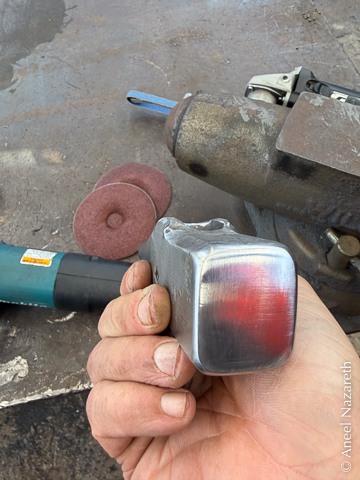
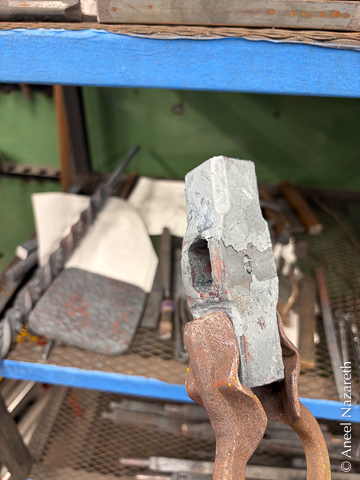
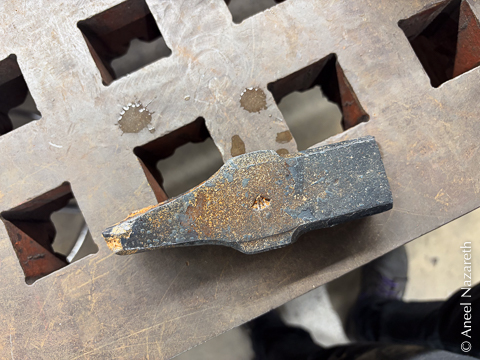
Then it’s into the kiln for heat treating. The hammer head is brought back above its critical temperature and then quenched in oil (this is O1 tool steel). This leaves it very hard, but brittle. It goes back into the kiln for tempering, where it’s brought to a controlled temperature that keeps much of the hardness, but makes it less brittle.
The last thing to do is to remove any scale from the hammer by heating it and scrubbing it off. In the process of heating it, I re-tempered it a bit, making the straw-to-gold temper color visible.
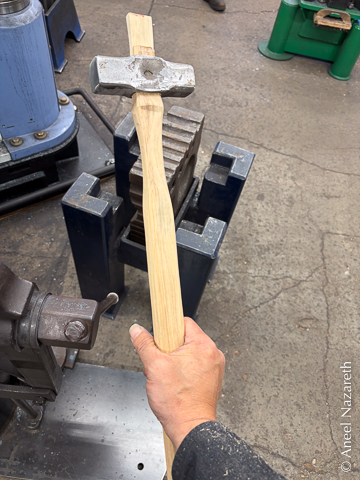
It’s not a hammer until it has a handle. In a process that would probably horrify a woodworker, I shaped hickory handles on belt sanders. I used an oxy-acetylene torch to add some charred color to the one for the hardened hammer. To keep the handles attached, I inserted a wooden wedge through the top of the handle in the direction of the head, and then a metal wedge across it. The final step was to coat the handles in a mix of turpentine and boiled linseed oil.
Next: Tongs