Jewelry Continued
In an earlier post, I talked about finishing the assigned projects for my jewelry class and needing to decide what was next. I worked on three substantial projects and one quick one, and resized or repaired a couple of my partner’s rings in the gaps between them.
As usual, more and larger photos are on Flickr.
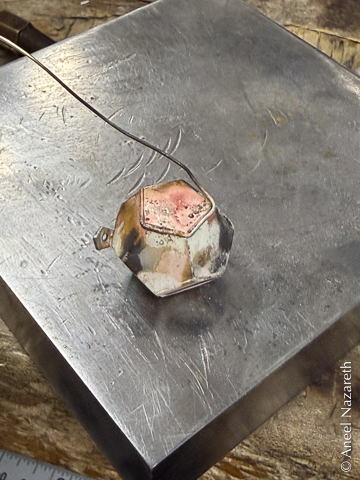
Dodecahedron
The first assignment in my 3D Design class last year was to make a sculpture composed of simple geometric solids in cardboard.
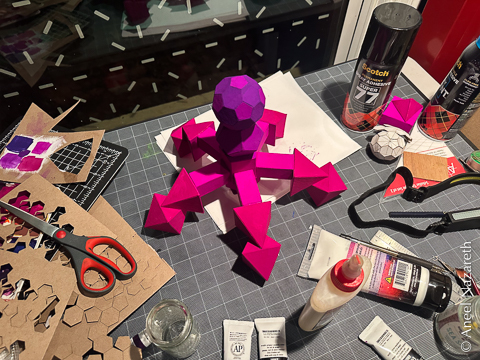
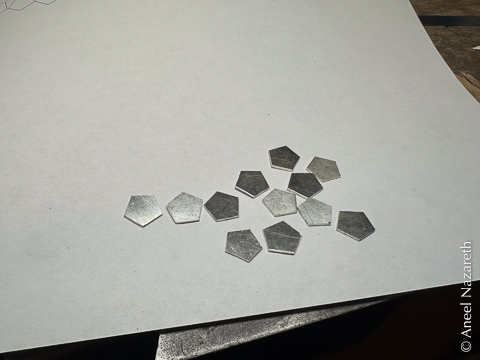
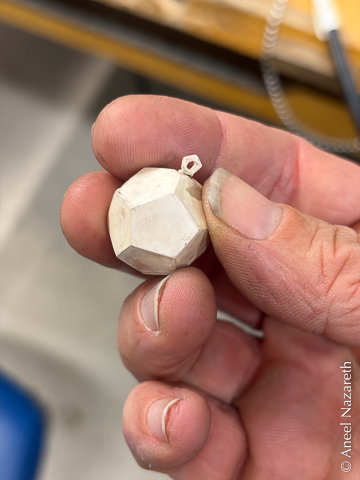
And I’ve had a plan to weld up all of the Platonic solids for years (I have the parts, I just need to spend the time), so I figured, why not attempt the most interesting of the Platonics: the dodecahedron. It is composed of 12 regular pentagons that meet at annoying angles (116.565°).
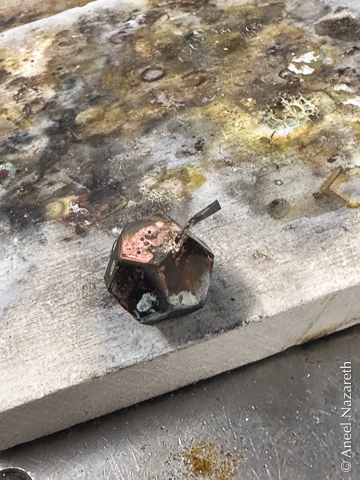
I did a test in copper and learned a lot about how not to do it. Don’t try to construct two halves and then combine them, because the error introduced in the construction will make joining them smoothly too difficult and leave lots of irregularities at the joints. And don’t let the work you’ve already done get too hot because adjacent faces that were previously soldered will fall apart. Which is hard, since each edge is quite a long solder joint and needs heat across the whole thing to solder. I experimented with various ways of trying to hold the pieces in the appropriate orientations, including a clay-like material that seemed like it had a lot of promise, but just crumbled.
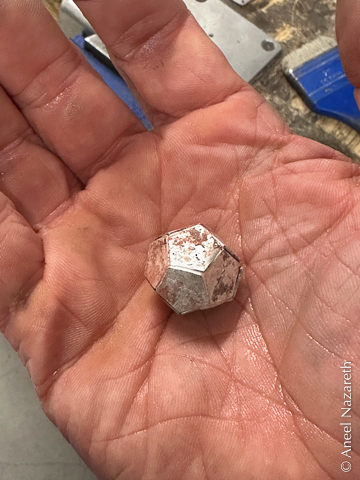
Starting again in silver, I concentrated on adding one piece at a time, knowing that the last few would require a lot of massaging to fit. I mostly held them in place with the jeweler’s equivalent of the “helping hands” that I’ve used in electronics.
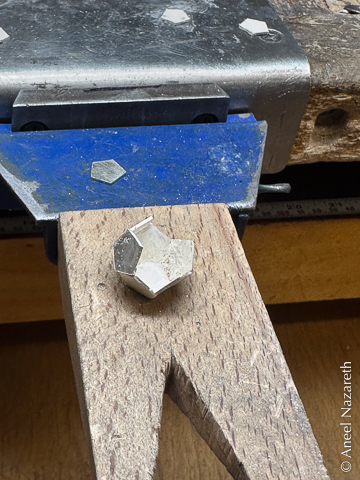
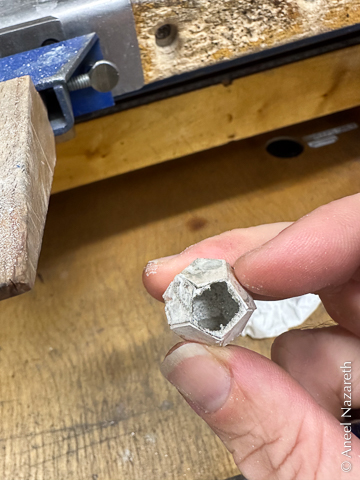
Along the way, I got practice drilling out sides that had been too badly damaged, patching holes with offcuts and wire, and filing things flat without filing all the way through.
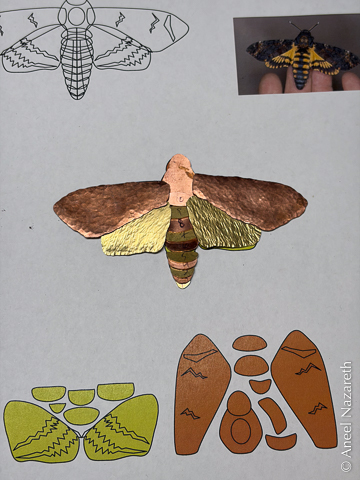
Hawkmoth
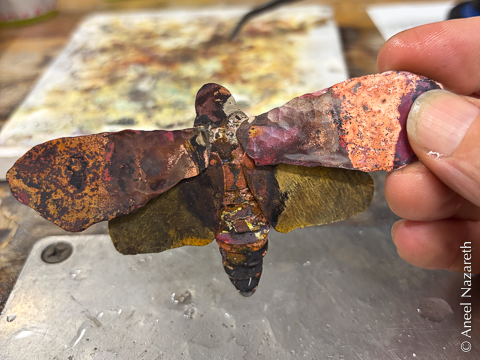
After all of that fiddly geometry, I decided to do something bigger and more organic. I also decided to try brass as well as copper, and add some hammered texture. I found some reference pictures of hawkmoths, and made a template in software.
This whole project was surprisingly quick. Now that I’m fairly fast at sawing (and less prone to breaking saw blades), I was able to knock out the individual pieces in just a class period. I used chasing tools (tiny versions of hammer faces I used in Art Metals a few semesters back) to round the body segments and add texture to the wings.
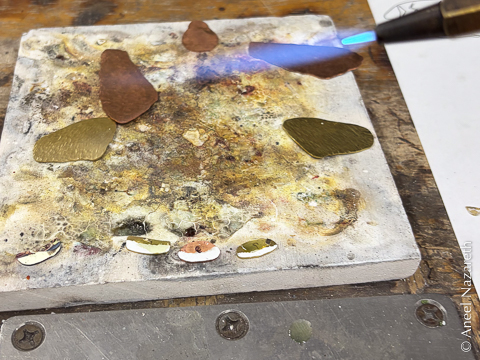
Unlike soldering the joints in the dodecahedron, these joints just needed solder applied to one edge of each piece. Then I laid them all in their positions and heated the whole thing to stick them together.
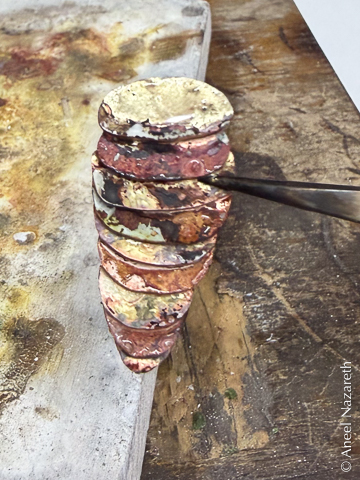
I attached the wings and added a bezel. Along the way, the oxidation colors from heating the metal caught my eye.
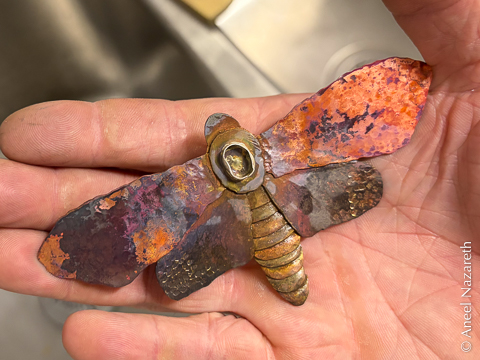
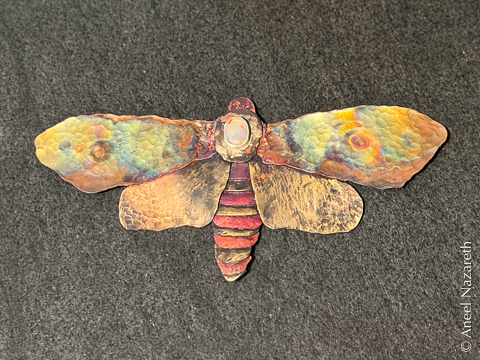
I ended up using controlled heat to add color to the forewings in the finished version.
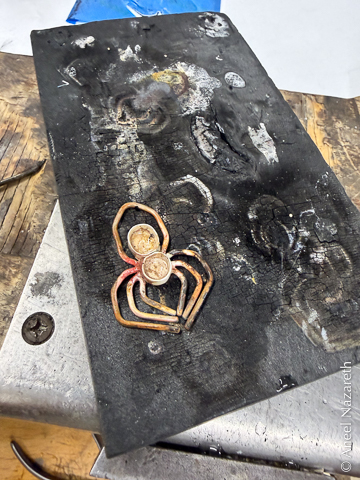
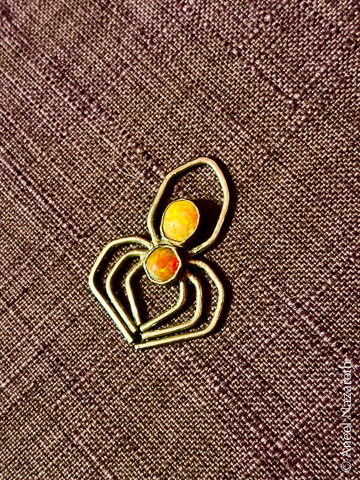
Spider
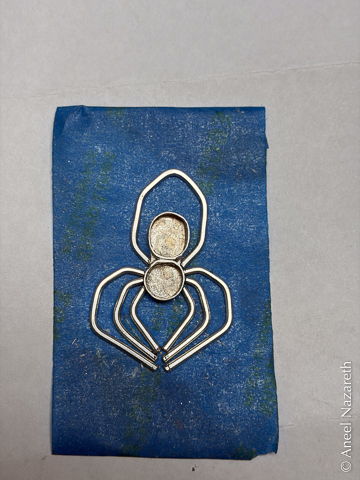
My last big piece was inspired by a necklace that I saw at the Texas Renaissance Festival that used amber for the body of a spider and silver for the legs. I decided to do something more geometric and use opals.
As is so common in my projects, work holding to keep all of the parts aligned was a challenge. This time I was able to tape them in place during the mockup phase when I was trying to align all of the bends. I placed them flat on a charcoal block while soldering.
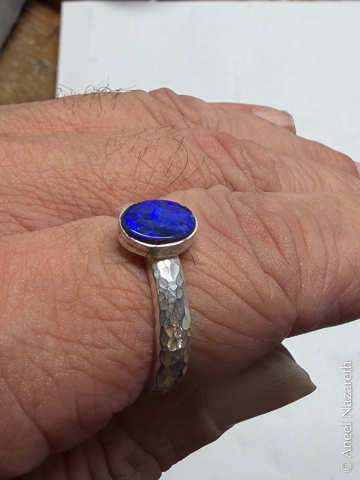
Hammered Ring
My one-day last project was a simple hammered ring with yet another opal (maybe you see a pattern here).
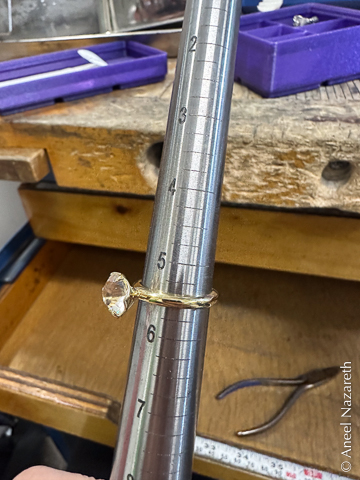
Resizing and Repair
Early in the semester, my partner gave me a bunch of rings that didn’t fit, and I resized them as I had time (for example while something was pickling to remove oxides or in the ultransonic cleaner). I took a set of three rings and resized them from 5.5 to 6.5. And made some other minor ring size changes.
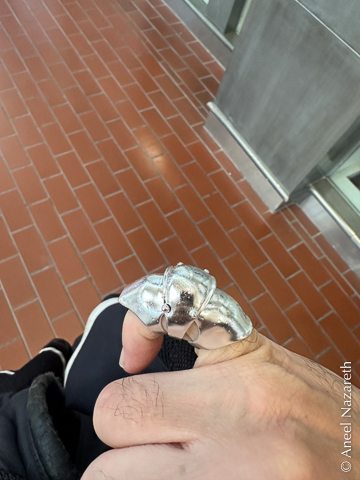
There was also this armor cuff ring which had one of the joints broken. It was a more complicated repair, but well within my novice skills.