Spring Break Update - Casting
This semester I’m only taking two classes. I intended to take three, but I got something wrong on the registration website and had to shuffle things around. One of those classes is Casting I, in the Jewelry department.
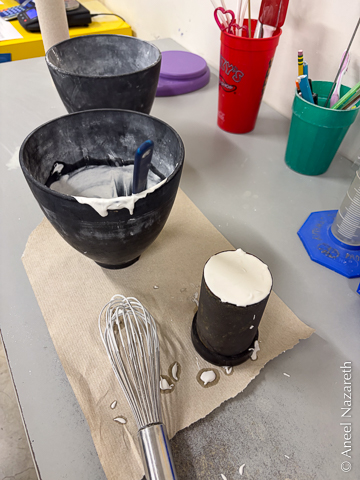
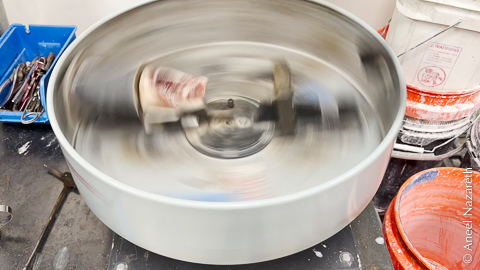
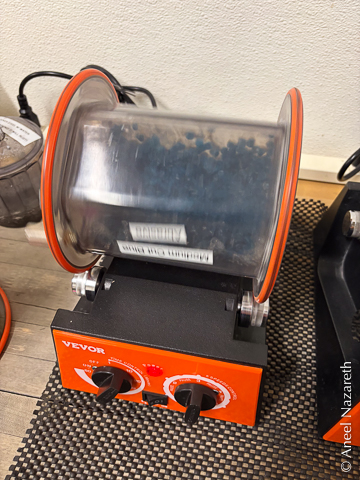
I’m continuing my attempts to learn as many ways of working with metal as I can, and casting is one I’ve been curious about. The focus of this class is on lost-wax casting. We sculpt the form we want in wax, “invest” it in plaster, burn out the wax, and then throw molten metal into the plaster form using a centrifuge. We’re primarily working in two metals: “ancient bronze” (an alloy of ~90% copper and ~10% tin) and sterling silver (92.5% silver and 7.5% copper to make it less soft). Silver is currently quite expensive, so I’ve been saving it for pieces that I’m relatively confident will come out well.
Wax is delightfully easy to work with, compared to metal. Filing or sawing quickly removes large amounts of material, you can do some smoothing with just the heat of your fingers, and it’s pretty easy to do additive work by using a “wax pen” (essentially a soldering iron) to join things or build up forms.
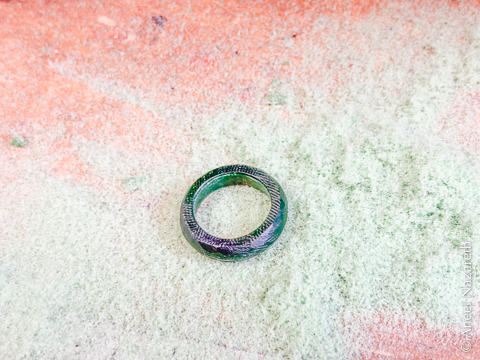
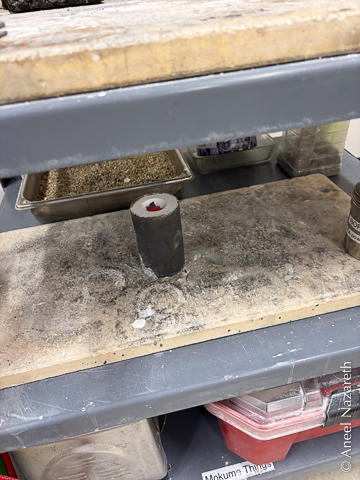
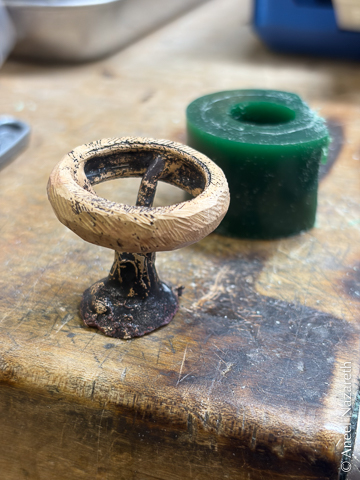
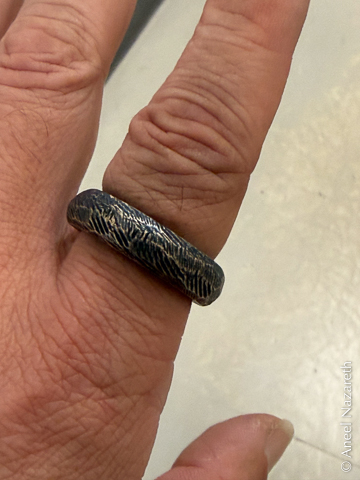
The first assigned project was a ring. I decided to make myself a chunky bronze ring. I roughed out the shape from a pre-formed wax tube and discovered that I really liked the texture of the roughest file in my kit, so I let that guide the style. So that I didn’t use up too much bronze at once, I hollowed out the inside of the ring.
The casting went pretty smoothly, without too much cleanup. Because I wanted to preserve the surface texture, the sprues were attached to the inside of the ring, rather than the outside. That meant that I had to do quite a bit of work to grind out the parts of the sprues that couldn’t be clipped off. But once that was done, the ring was ready for finishing.
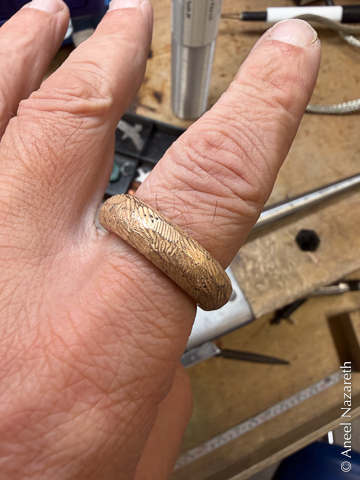
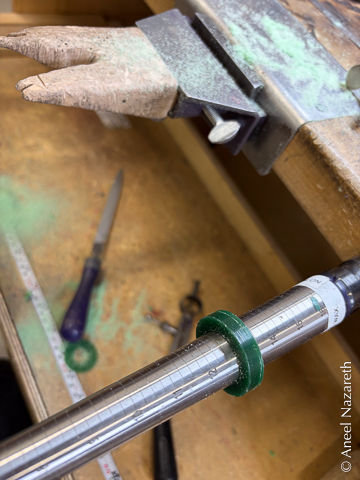
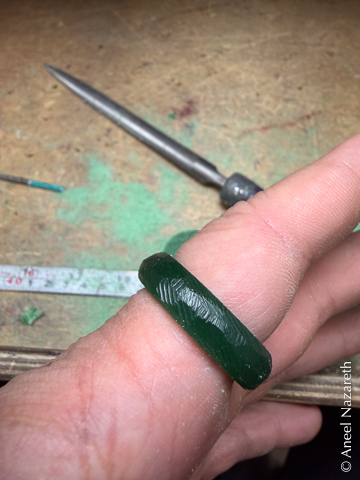
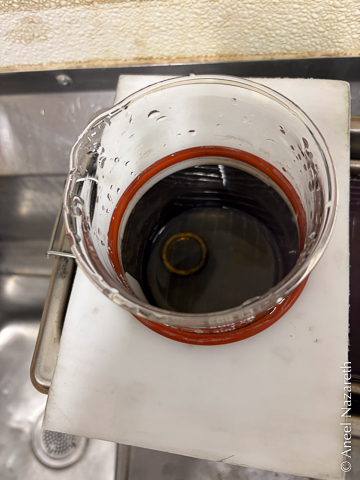
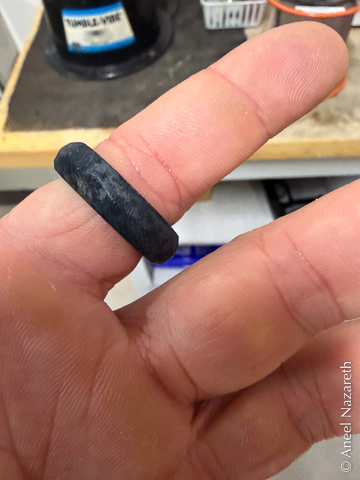
In harmony with the roughness of the band, I wanted the ring to not be polished and shiny. I used a strong Liver of Sulfur treatment, which left the surface a deep black. Then I polished up the highlights by throwing the piece in a tumbler with coarse media.
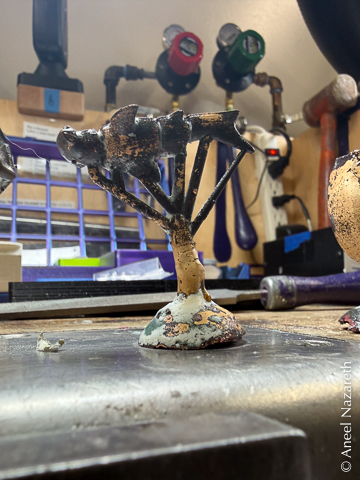
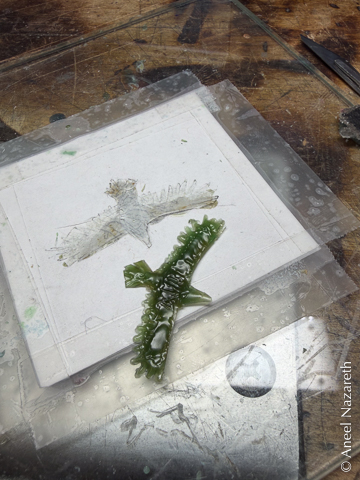
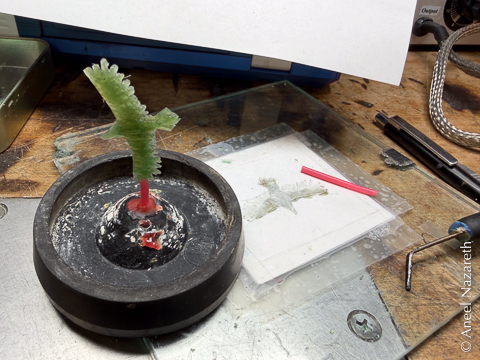
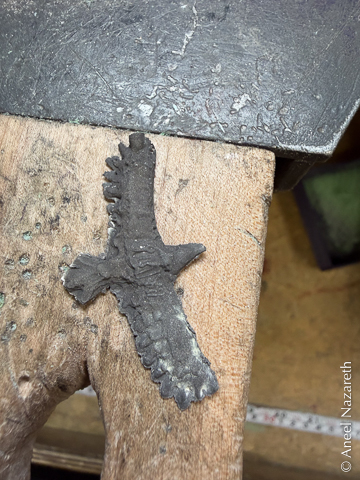
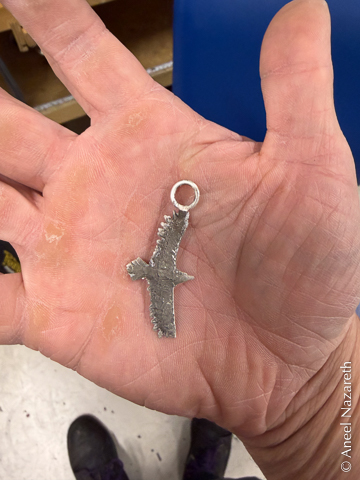
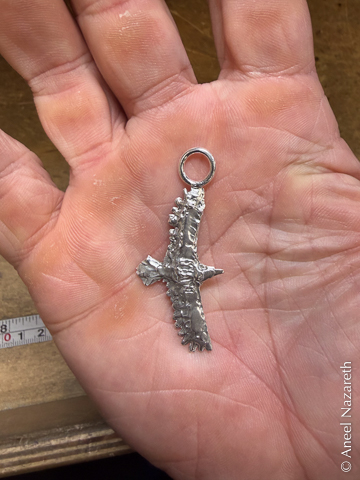
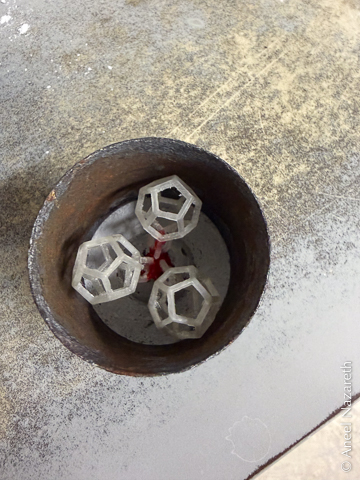
The second project for the class was a wax buildup, taking a drawn template and using the wax pen to apply hot wax to build up a relief sculpture. The supplied template was a tree, but I wasn’t excited about how my tree came out, so I sketched a quick raven and built that up. Spruing this was easy, and the overall volume was small, so I cast this one in silver.

In what will be a theme in this class, I haven’t actually finished this piece yet. I attached a jump ring left over from last semester, but I want to buff out some scratches on the back and maybe apply a patina to this too.
The reason I have not finished a bunch of pieces is that I’ve taken a detour from the assigned projects and started trying to cast 3D prints. I did some experimenting with filament specifically designed for casting (supposed to leave almost no ash behind). Those who remember last semester might be able to guess what I 3D printed…
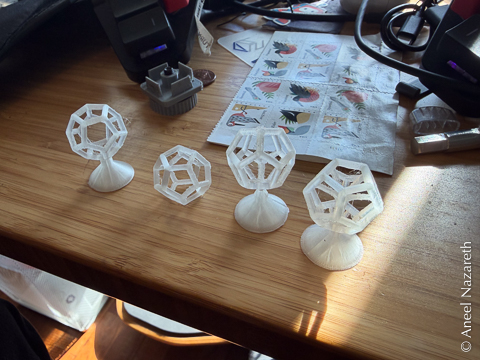
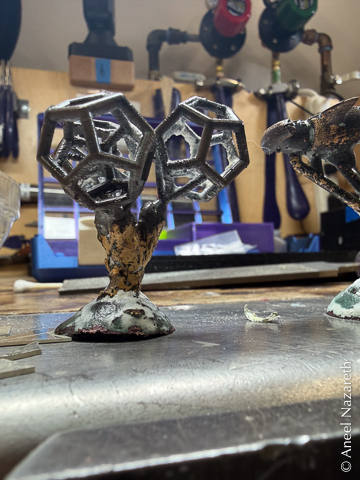
I also attended a talk on metallurgy for jewelers, where they had one of those 3D printed articulated dragons, made with selective laser sintering. That made me wonder if I could cast one (clearly not with detail that fine). So I found a model of an articulated hammerhead, and printed and cast that. It’s going to need a lot of fine-tuning the cast to get it to actually articulate.